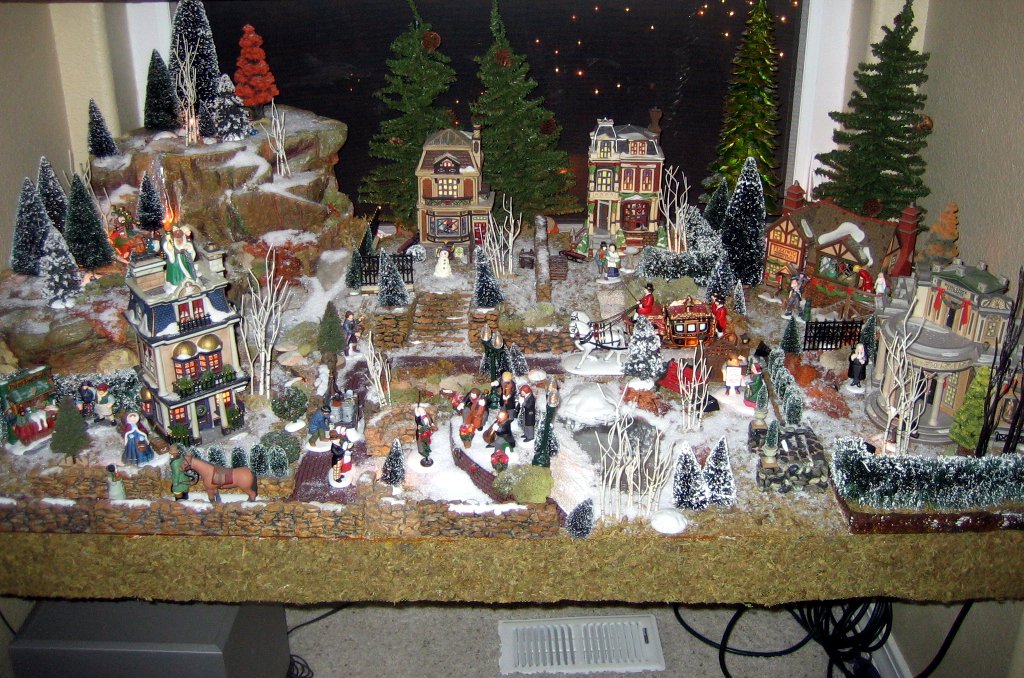
 This year I spent the majority of my effort on building the infrastructure of the diorama: platform, wiring for lighting, foam based landscape, and water features. I got a lot of ideas from an old video that Dept56 used to produce on how to create all of these. Even though we purchased the video this year, I’ve heard they are no longer making or selling the video.
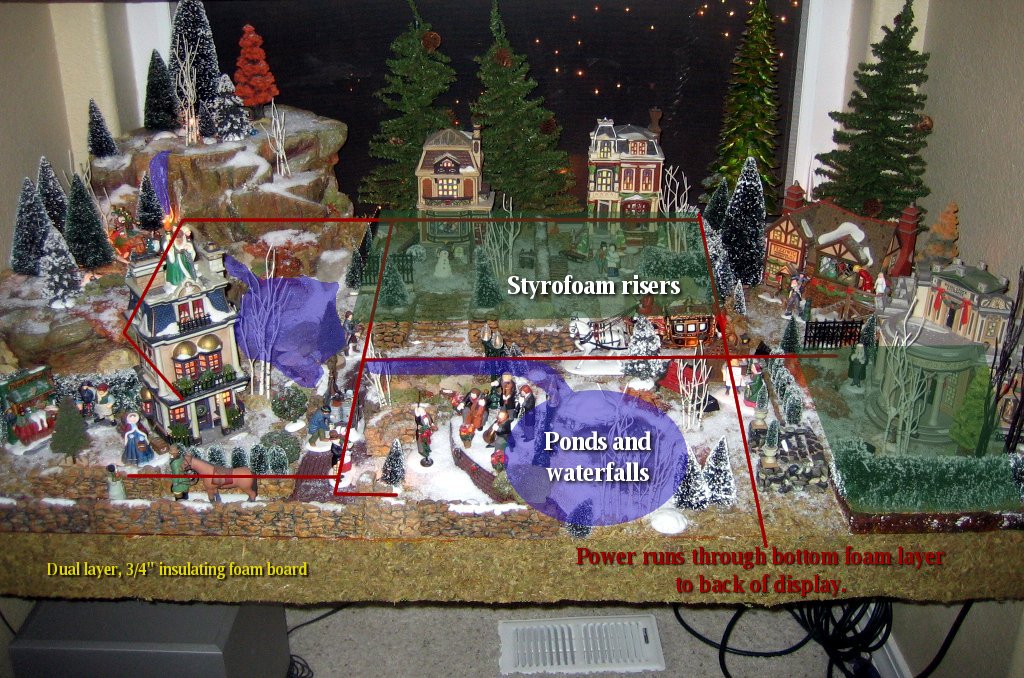 I started with two 4′ x 2′ foam insulation boards I purchased at Home Depot. These had a smaller width (48") than the area I needed to fill, so I cut the first board and spread it out on a piece of 1/4" thick wood cut to fill the space. Power for lighting had to run underneath the display area to the front of the display because the cubby hole used for the display had no power in it. So the space between the two pieces of the first board was the avenue where the power cord was run from the front to the back of the display.
My terminology in this next section is off a bit – I’ll update it with links and proper terms when I get a chance.
I ordered a set of 12V 50mA Bi-Pin lamps from Radio Shack and wired these to screw connectors. Then I ran the wires to a connecting bar and the bar was wired to a 12V 1.5A power converter. The converter was then wired to a plug which ran to the wall outlet. All of these lights are very small and were hidden behind walls, bushes, and buildings. The annotated image here shows how the main wiring troughs were cut in the top foam layer to hide the wires for the lamps. The troughs were covered with roadways or other material to hide them. I ran lamps through the small river running from the main pond back to the small pond at the base of the waterfall (upper left) and then put a lamp behind the waterfall. However, the waterfall lamp was too bright and it wasn’t easy to see the waterfall effect. Next year I’ll use either a lower wattage lamp or hide it behind something so the GladWrap that makes up the waterfall is more visible.
While insulating foam was used for the base, the risers were carved out of styrofoam blocks purchased from Michael’s. Shaping styrofoam is easier than insulating foam because the latter has to be carved with a heating element while the former can be sanded using sandpaper or even another piece of styrofoam. That makes creating rounded edges a little easier, though a little messier.
I’ve added a gallery showing how the village looks at night with the lighting turned on.