|
Deprecated
|
MediaSystemUsersGuide
Table Of Contents
- The Media System UI
- Network configuration - IPV4 - Wireless Client - Access Point - Wireless Scanner - Status and Button Bar - Setting the Date and Time - PiPics Picture Browser - MusicFE Music File Browser and Player - PiCam Console WebCam - PiXM Sirius/XM Application - VideoFE Video File Browser and Player - The Web UI - Network configuration - Managing users - Webcam - Preparing Videos - Audio and Video devices The Media System UI
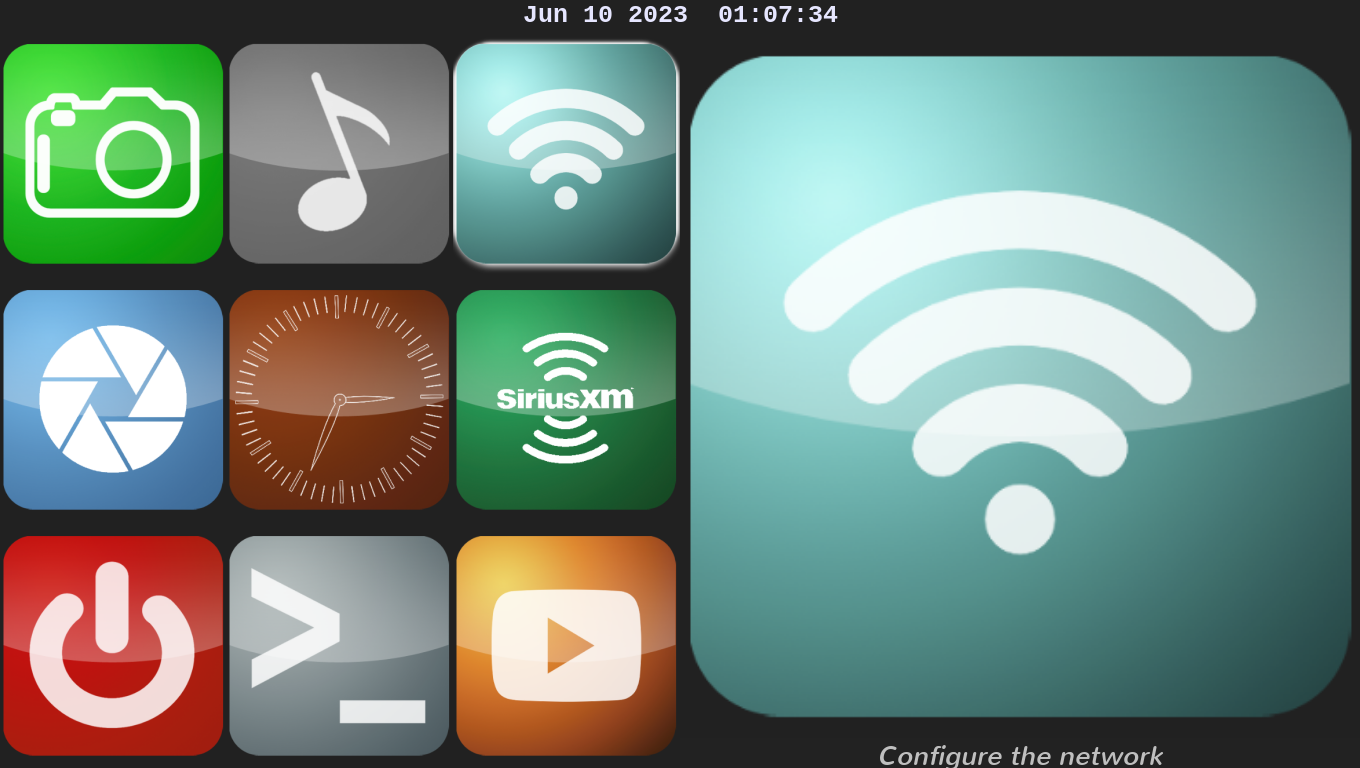
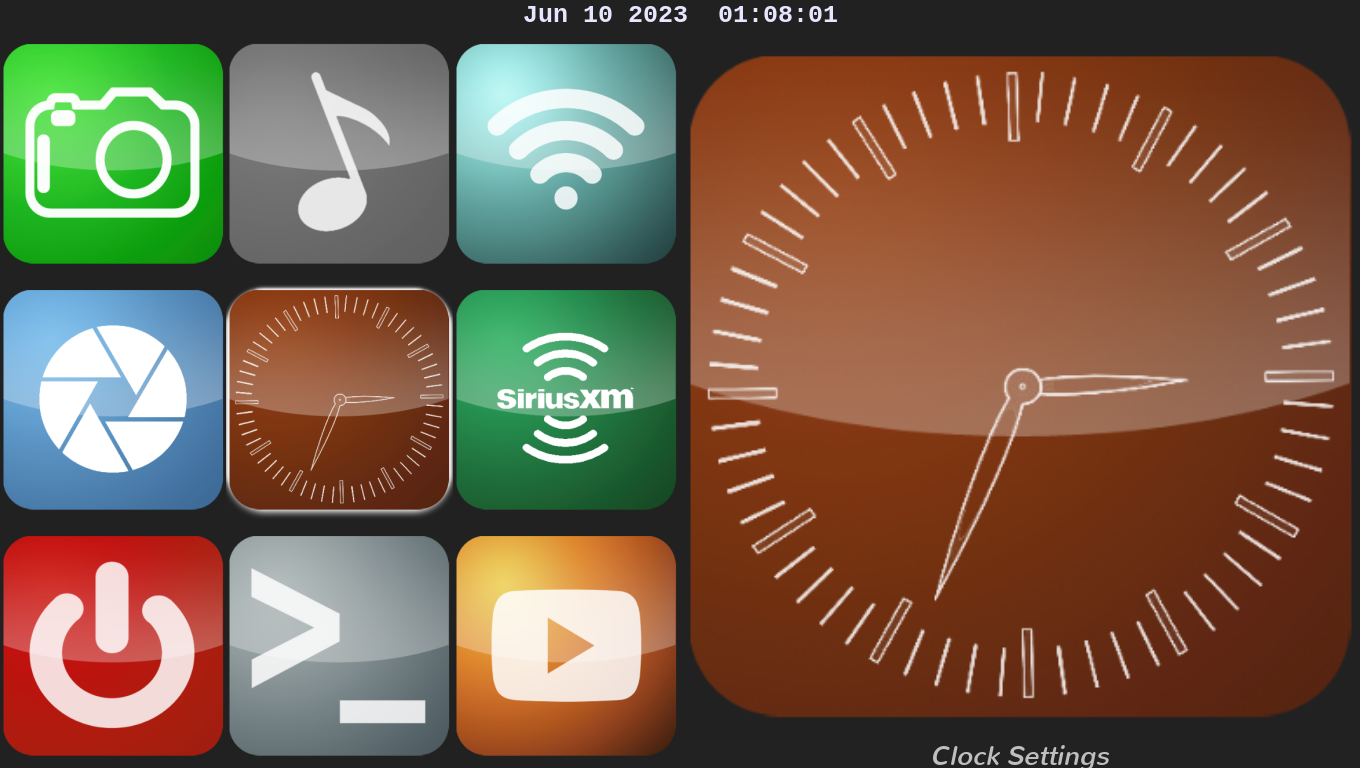
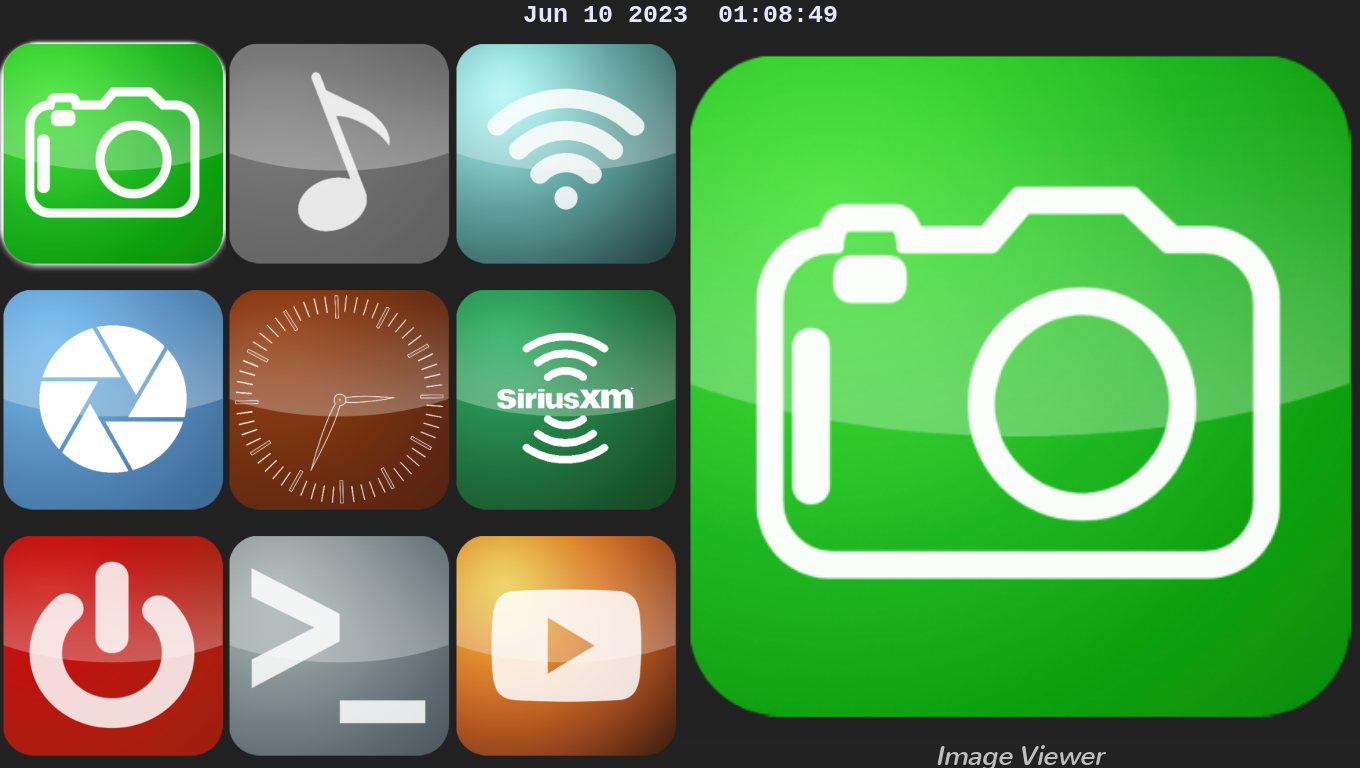
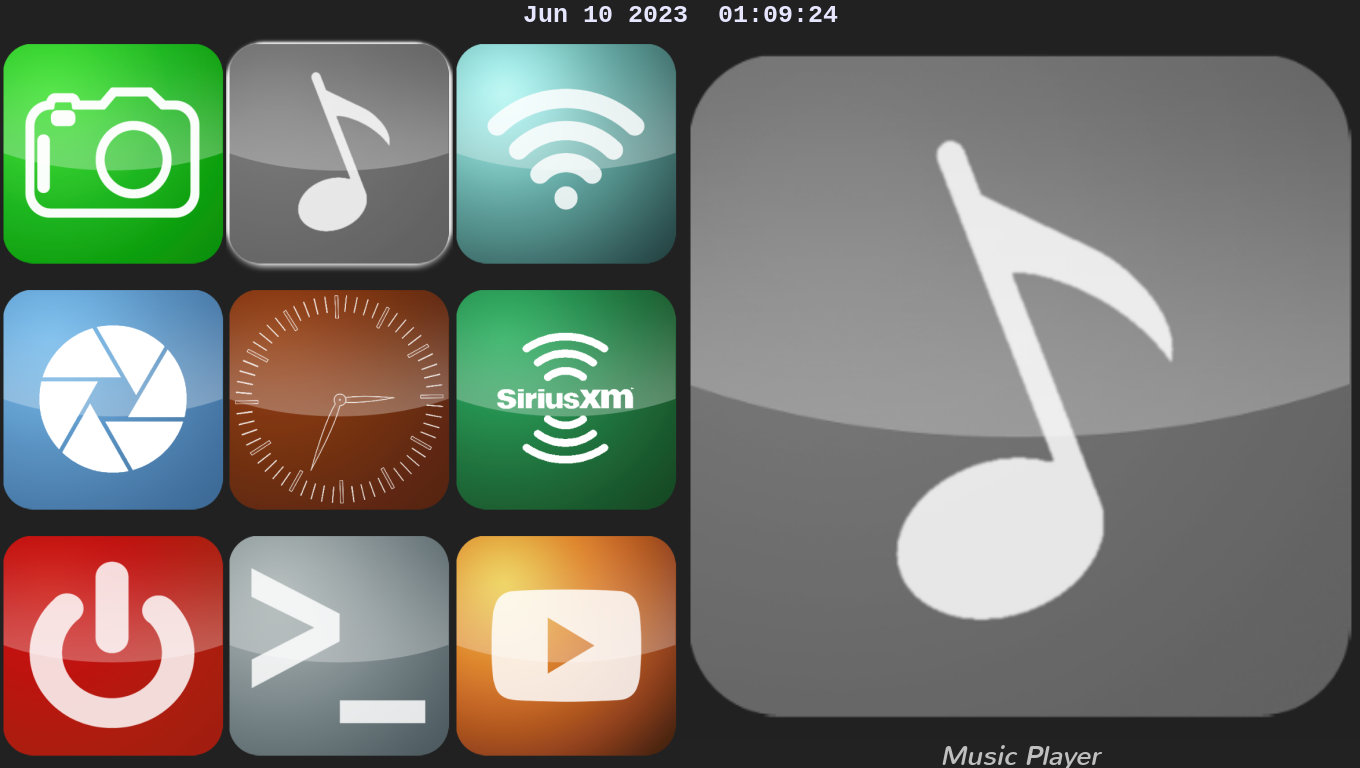
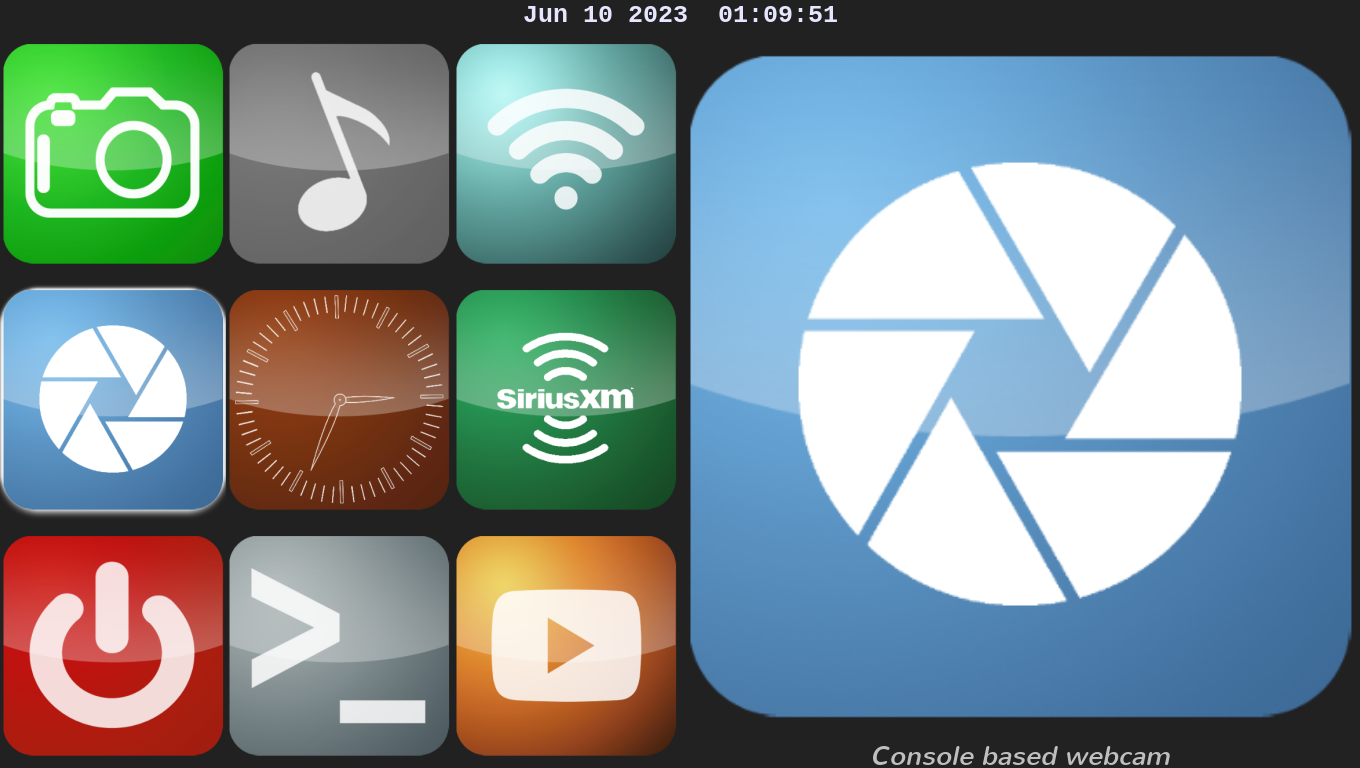
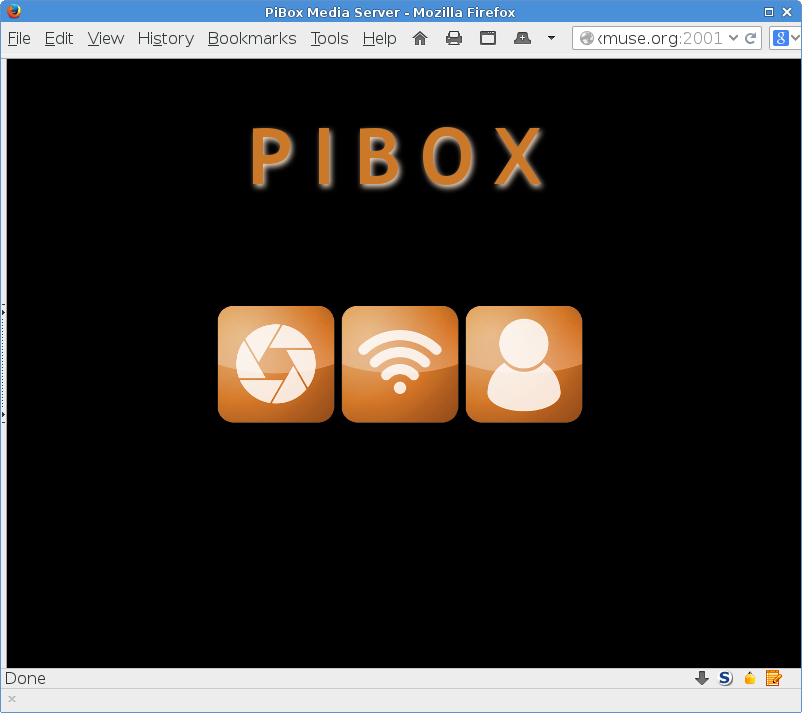
The Media System UI displays an app launcher which shows a collection of small icons on the left with a larger icon and text description on the right. Each icon displayed in this UI represents a PiBox app. These icons represent the following apps, in row order top to bottom.
The icon in the upper left is selected when the UI is first displayed. The selected icon is highlighted with a small white outline. Hit the ENTER button to start the selected app. If the monitor supports touch activation then a single tap on an icon will launch the application. Use the arrow keys on the keyboard to navigate to other icons in the launcher. All apps are designed to return to the launcher by using the ESC key on the keyboard to exit the app. Touchscreen displays use the upper right corner as the ESC key. Network configuration
The first task you should perform is network configuration. If this Media System will not serve files to any other Media or Player Systems then network configuration is not required. Use the keyboard to navigate to the Network Configuration icon in the launcher, then press ENTER. The Network Configuration application will open. This app provides three tabs at the top, an area for configuration related to the current tab in the center and a status and button bar at the bottom. Navigation in this app is handled by using the TAB key to move to currently visible fields and the Left and Right Arrow keys to change tabs. The field highlight (a white outline) must be on one of the tabs in order to change to a different tab. The first of the tabs will always be labeled IPV4 for setting an IP address for the device. The second tab will either be labeled Wireless if the device will be configured as a wireless client or Access Point if the device will be configured as a router. The third tab is used to scan the area for available wireless networks. Note: The Network Configuration application, PNC, will be replaced in the next release with the easier to use PiNet app.
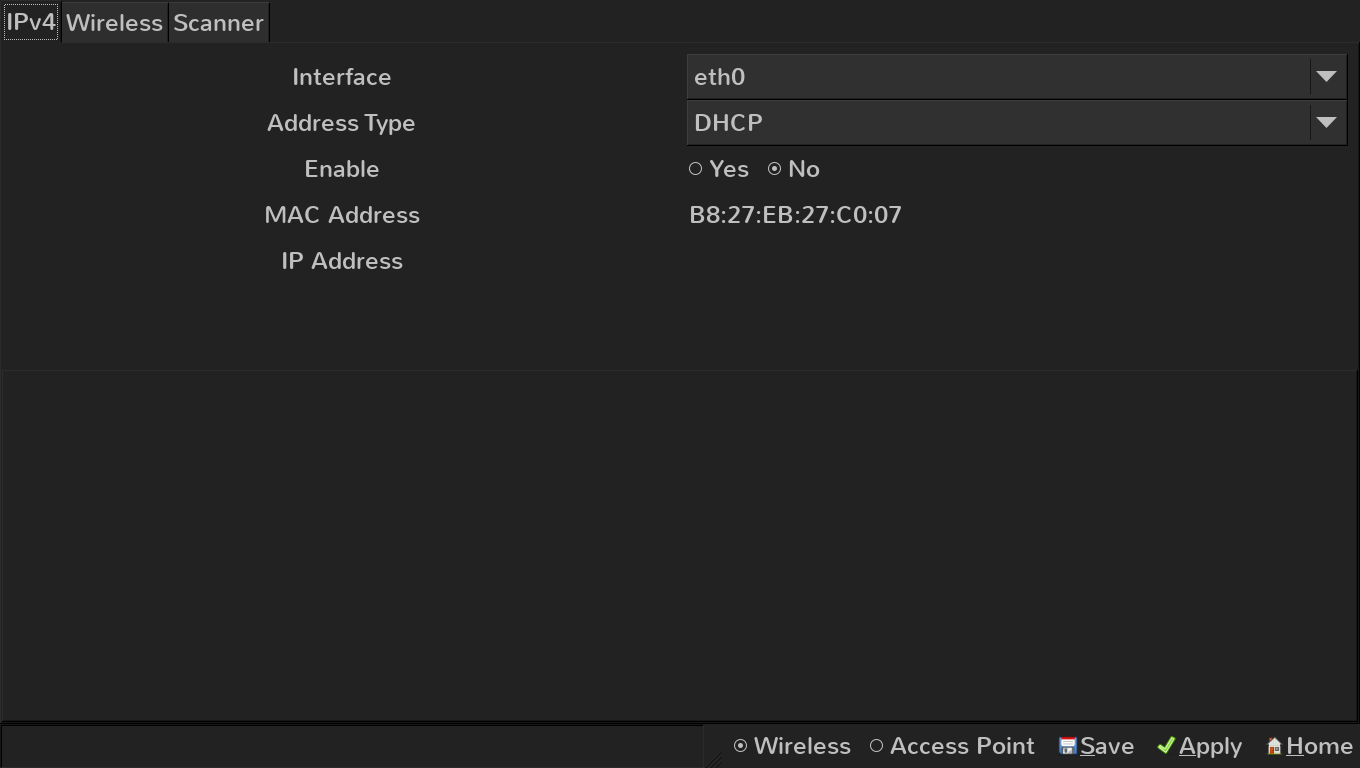
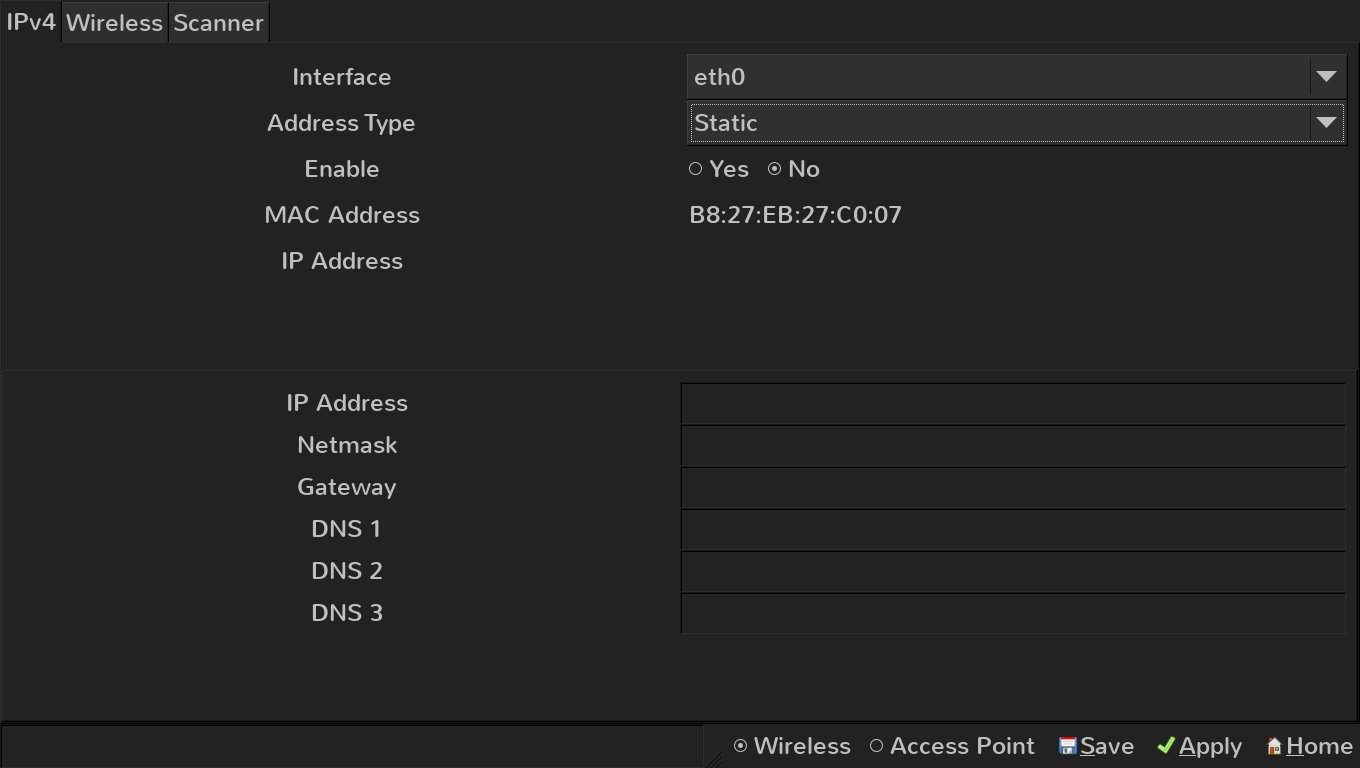
IPV4
This tab allows configuration of the device's IP address for the local network. Select an Interface to configure and choose the Address Type (DHCP or Static), then Enable the interface. The MAC address for the selected interface is also displayed. If an IP address is already assigned to the selected interface it will be displayed here and in the status bar at the bottom of the window. Interface: Set this option to either wlan0 to use a wireless connection or eth0 to use a wired connection. Note that it is assumed this device will be connected wirelessly throughout this document. Address Type: Set this option to use DHCP if this Media System will operate on an existing wireless network. Set this field to Static to manually configure the interface's IP address. If set to Static additional fields will be displayed in this tab to configure the IP address, Netmask, Gateway, and nameserver. Enable: This field changes for each Interface, allowing you to use either or both interfaces.
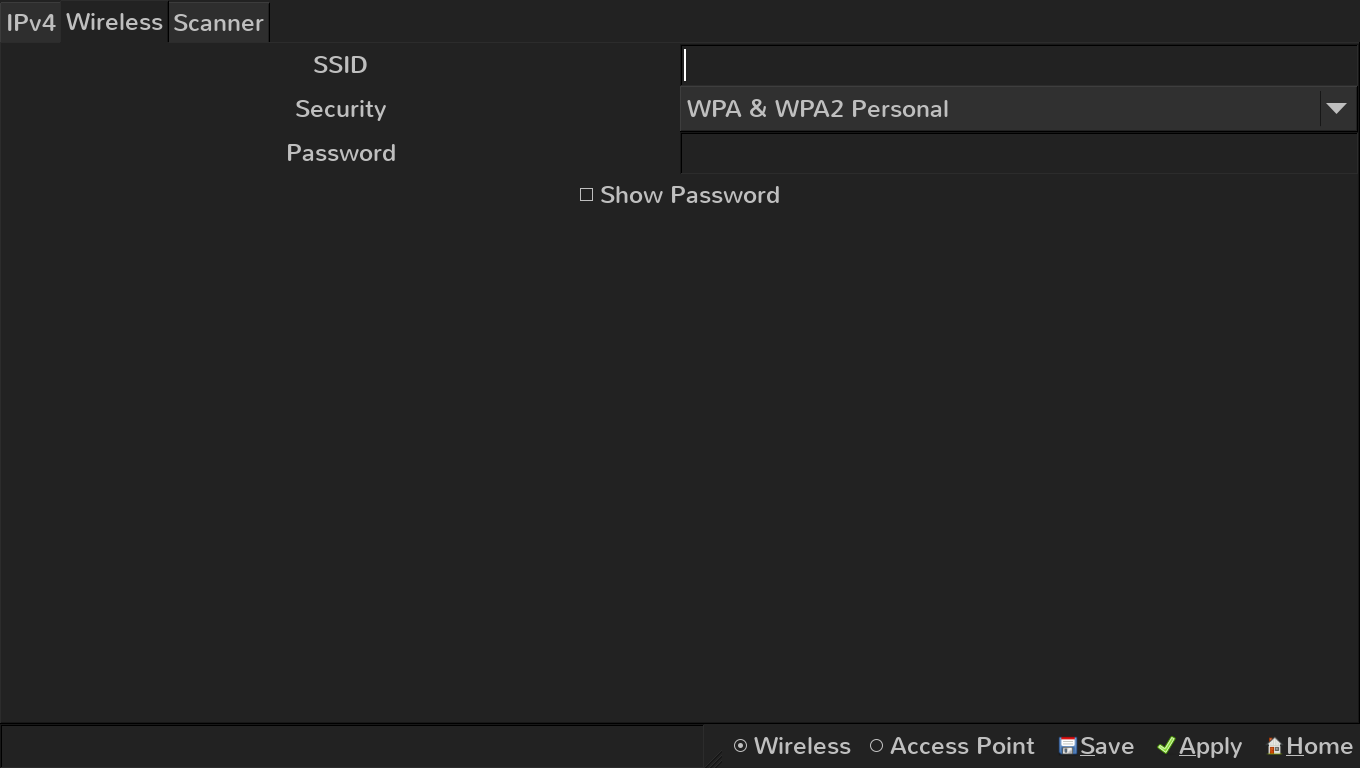
Wireless Client
This tab allows configuration of the system as a wireless client. There are three fields to configure: SSID, Security and Password. SSID: This field must contain the name of the wireless network to connect to. Security: This field must be set to the type of security used by the wireless router. Only WPA2 Personal and WPA2 Enterprise are currently supported. Password: This field must contain the password used to connect to the wireless router. This field is displayed with asterisks unless the Show Password button is set.
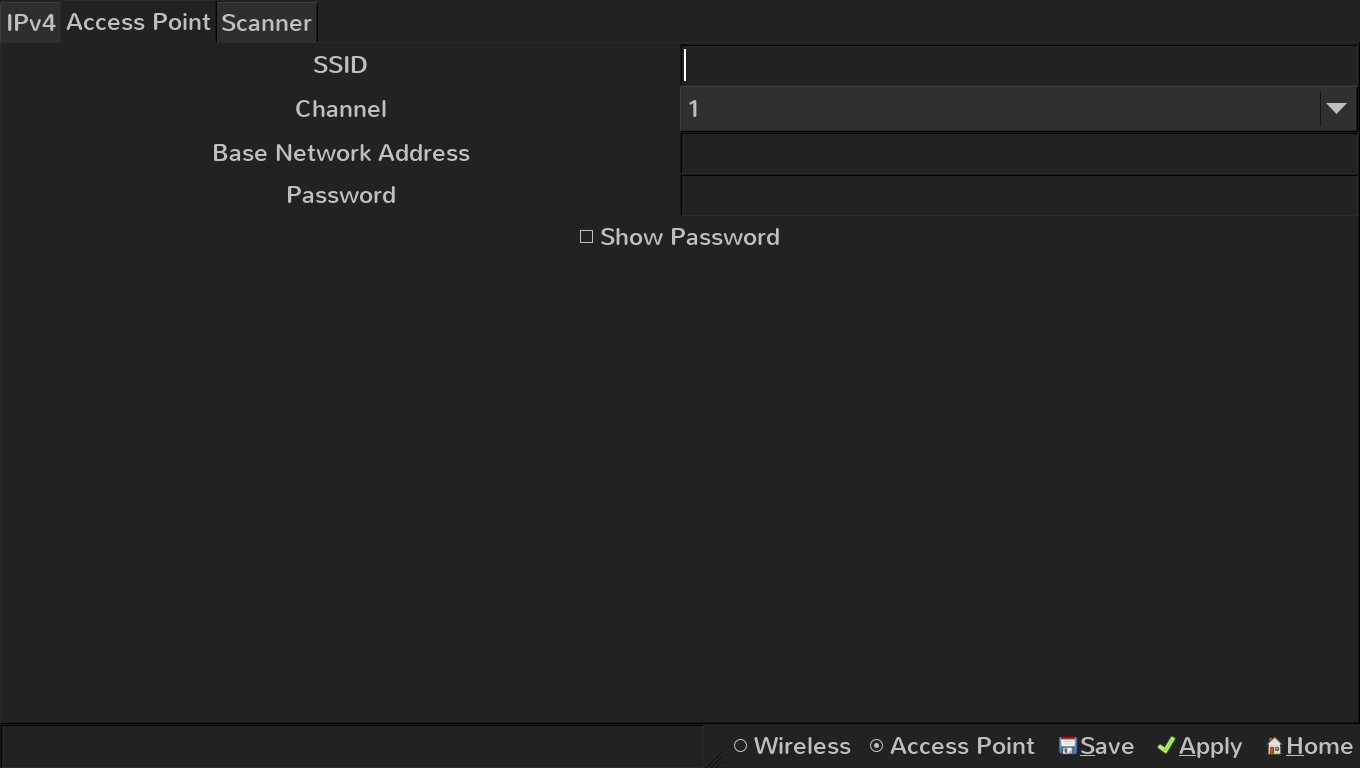
Access Point
This tab allows configuration of the system as a wireless router. This is useful when the Media System will serve files to other Media Systems on a closed network. There are three fields to configure: SSID, Channel and Password. SSID: This field must contain the name of the wireless network this router will provide. The network name is not broadcast. Channel: Use the up and down arrow keys on the keyboard to select a channel from 1 to 14. Use the Scanner tab to look for channels that have the least traffic to avoid poor network throughput. Password: This field must contain the password that wireless clients must use to connect to this router.
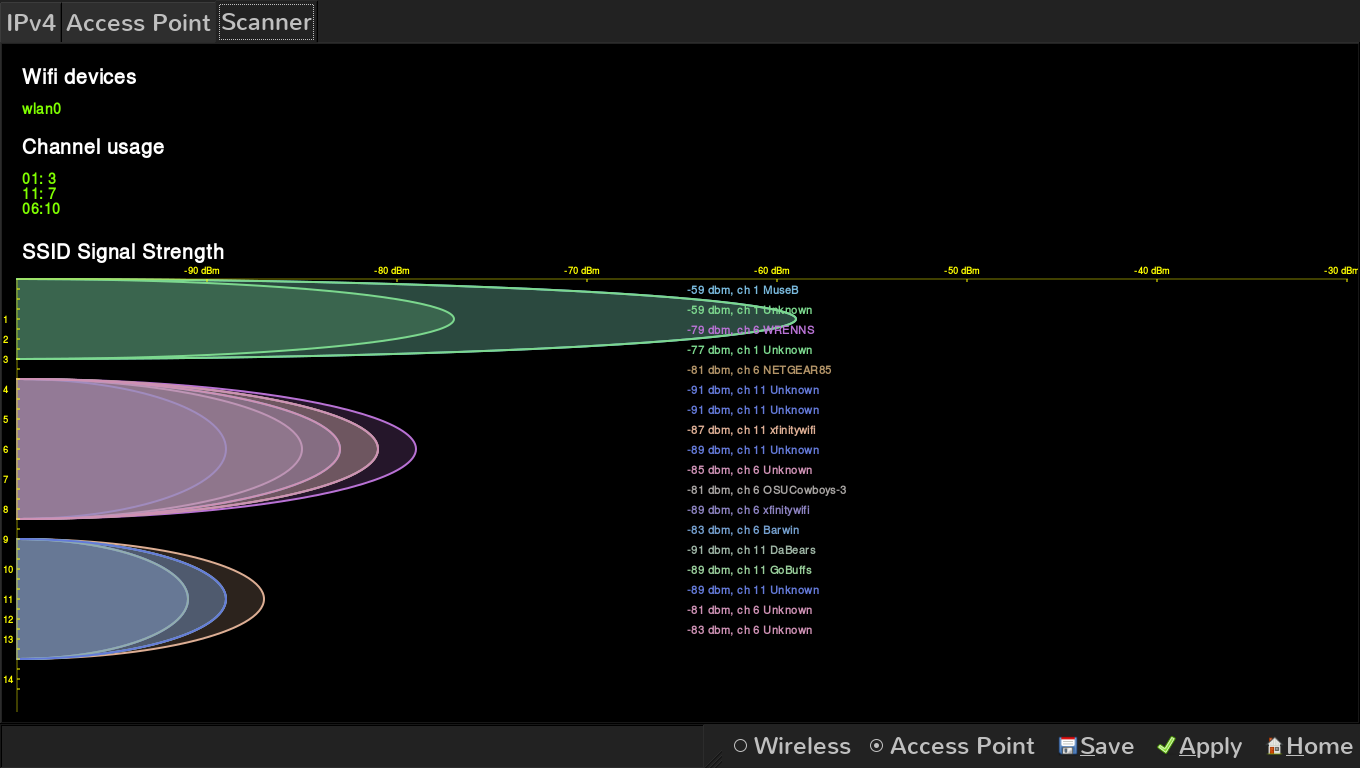
Wireless Scanner
This tab shows wireless activity in the vicinity of the Media System. It can be used to choose a channel with the least possible interference by nearby wireless network.
Status and Button Bar
The lower left of the display will show the current IP address of the Media System if the device is currenty configured and properly connected to a network. The lower right displays two buttons: Wireless and Access Point. Select Wireless if this device will be connected as a wireless client on a network. Select Access Point if this device will act as a router for a local network. Only one of these two options can be active. Next to these two options are three buttons: Save, Apply and Home. The Save button should be used to save the current configuration. Saving a configuration applies only to the currently displayed tab. The Apply button will restart the Media System network software using the currently saved configurations. The Home button has the same effect as pressing the ESC key which will retun you to the app launcher. Setting the Date and Time
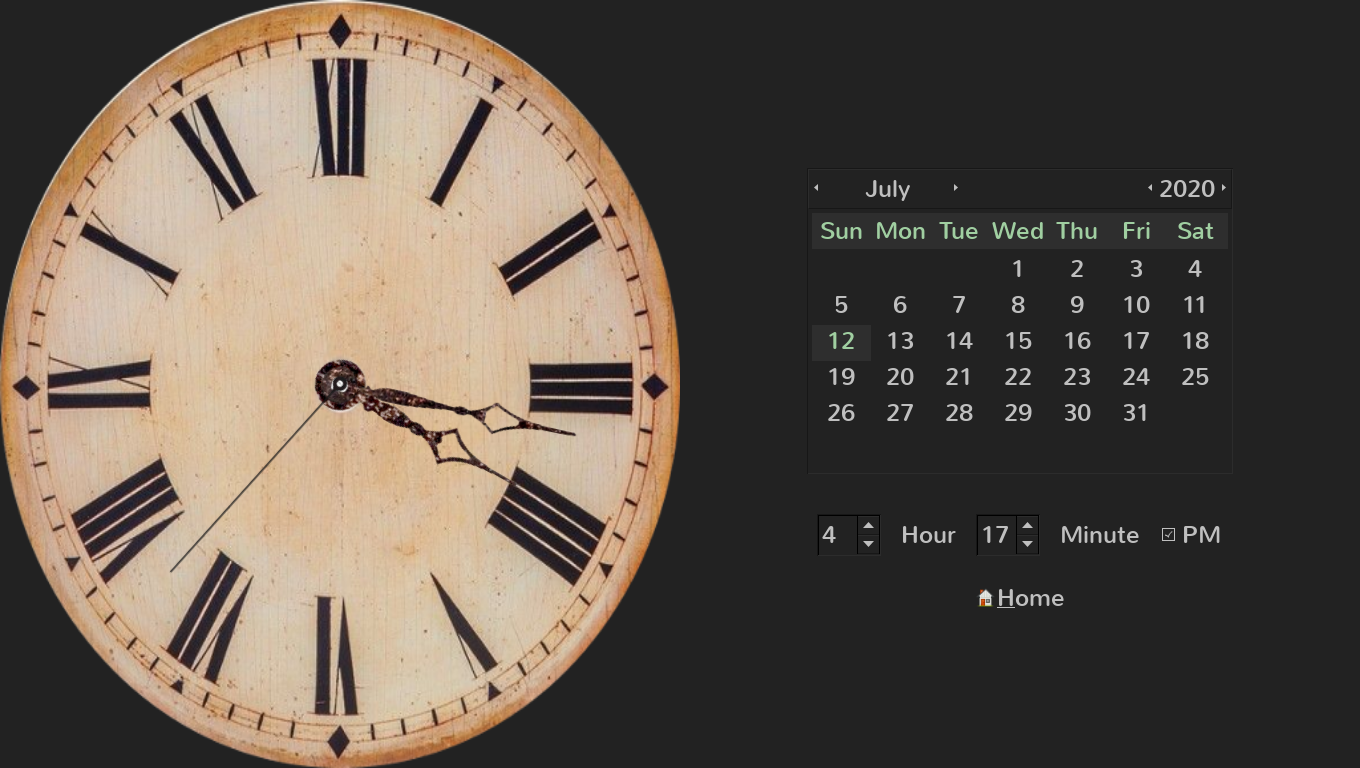
The Media System is designed for use in places where no Internet connection is available. The Media System can be powered up and connected to an Internet-connected network and the system will eventually pick up the correct time. However if this was not done then the date and time can be set manually. Also, the Raspberry Pi does not have a clock battery so the time must be reset on each power up if the board is not connected to an Internet-connected network. The date/time app displays an analog clock on the left with a calendar and time fields on the right. Use the tab key to navigate between the calendar and the time fields. The Home button along with the ESC key will return you to the launcher. Initially the first day of the current month of the calendar is active. To move to another day of the current month use the left and right arrow keys. To move to another month hold down the Ctrl key while using the left and right arrow keys. To move to another year hold down the Ctrl key while using the up and down arrow keys. The time fields can be changed using the up and down arrow keys. The PM button is used to set the time to after noon. This can be set with the ENTER key. Note: this app can be themed to show a different clock face and hands, however there is currently no UI for changing themes. This will be added later.
PiPics Picture Browser
The PiPics picture browser scans directories under /media/usb for supported image files. This includes most commonly used image formats. Files are played in the order discovered. There is no obvious UI for browsing pictures. Use the right and left arrow keys on the keyboard to move forward and back, respectively, through the list of images. Use the ESC key to exit the application back to the launcher. See the TouchScreen interface usage page if using PiPics on a touchscreen interface.
MusicFE Music File Browser and Player
The MusicFE application scans directories under /media/usb to find music files in MP3 format. Those files are scanned for ID3Tag data to create a database of music. This is done at application start time. A database does not need to be created manually (as it does with the VideoFE application). To add music to the database simply insert another USB stick with music files to the Media System. The application must be restarted to scan new music files.
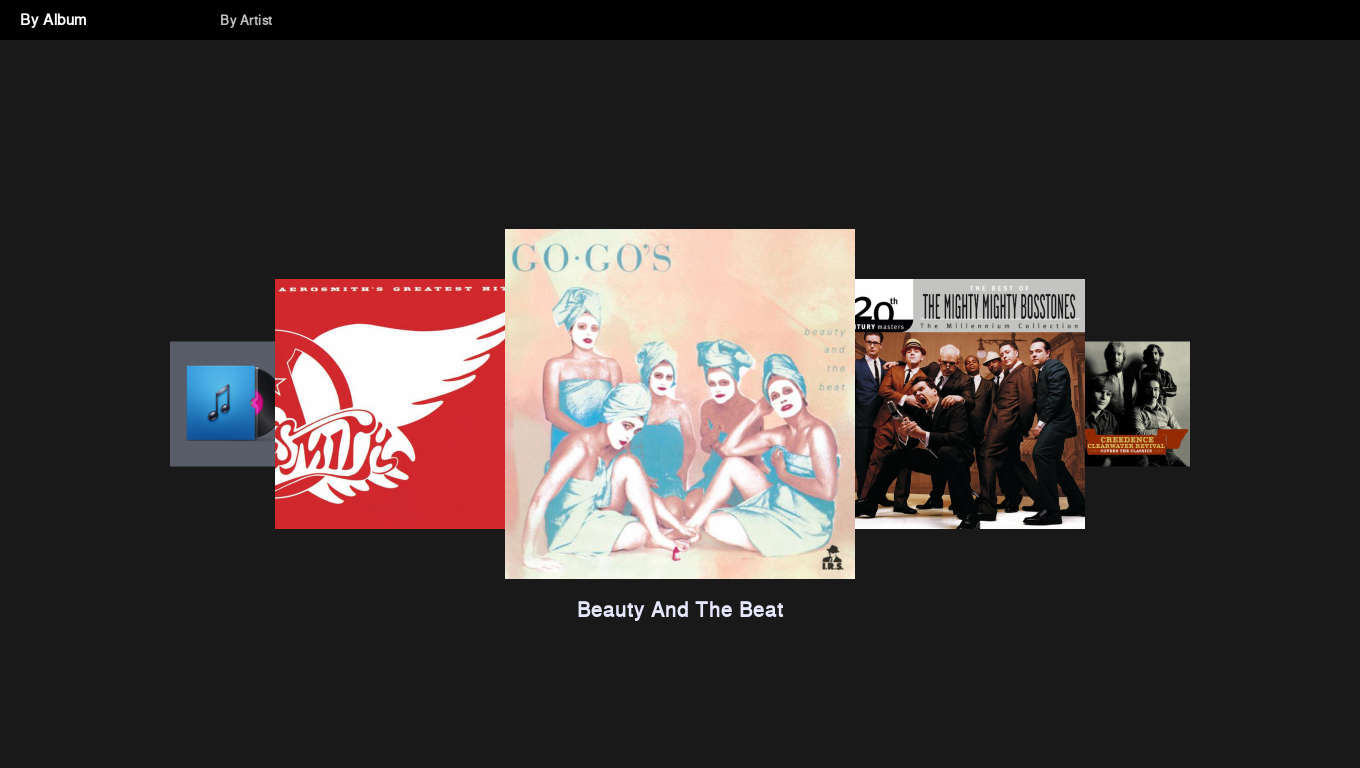
The MusicFE application main page initially shows a carousel of albums. Use the TAB button to view a carousel of artists instead. Use the left and right arrow keys to browse the carousel. Use the ENTER key to select an album or an artist. The songs available from the album or artist is displayed in a list. Use the up and down arrow keys on the keyboard to select a song. Use the ENTER key to start playing the song. The song will play to completion and the next one in the list will start. To stop playing use the TAB key while in the song list to select STOP. STOP can be used while browsing any song list. It does not have to be the list that contains the currenty playing song. Using the ESC key will exit the song list to the carousel or exit the carousel back to the launcher. If a song is playing it will not stop while in the carousel but will stop if exiting to the launcher. Note: The MusicFE interface does not currently support touchscreens.
PiCam Console WebCam
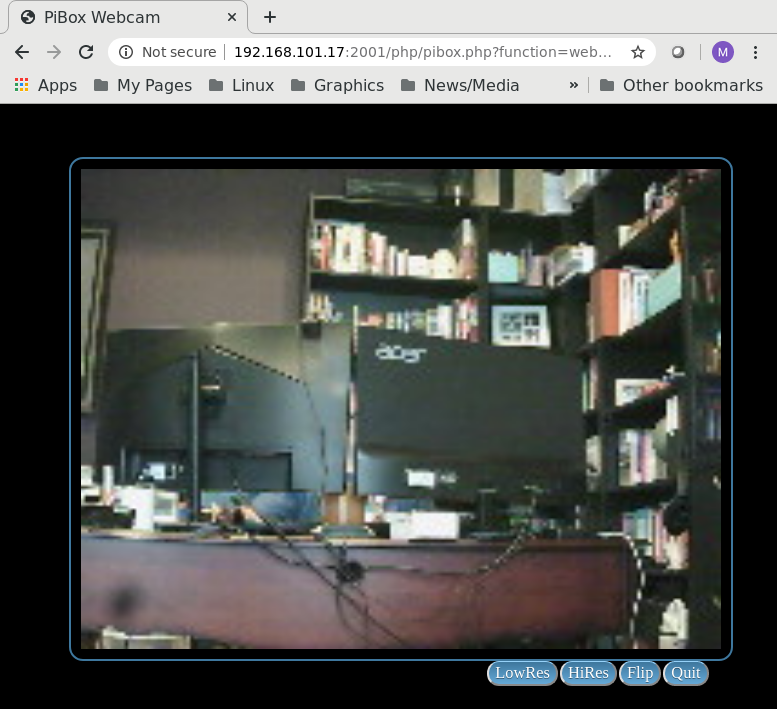
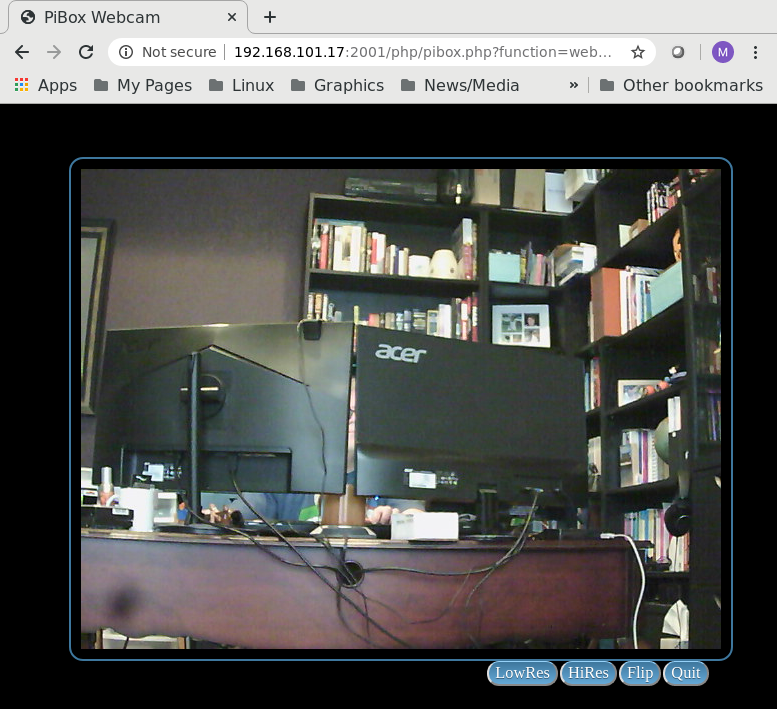
PiCam console webcam is a front end that maps the Raspberry Pi omxplayer to the backend mjpeg-streamer utility. This means that PiCam will work with any webcam that supports MJPEG (Motion JPEG) streams. PiCam does not have a UI. When the application starts it will choose the first camera found and begin to display the stream on the console. The stream is played at 640x480 @ 10FPS. Quality of the stream depends on the cameras support for this configuration. Only one stream at a time can be played from a single Media Server. If another stream is started, such as from the Web interface, any existing stream will be stopped and a new stream started. To exit PiCam use the ESC key on the keyboard.
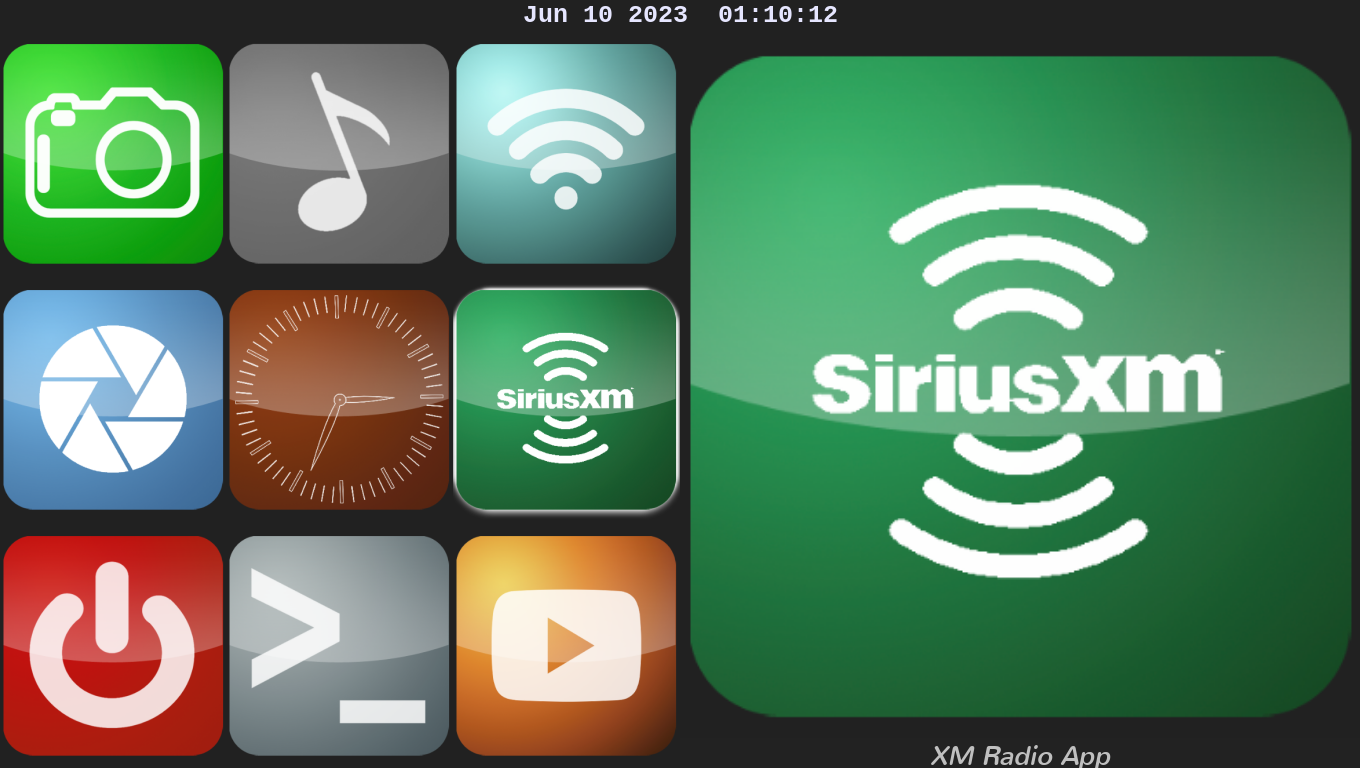
PiXM Sirius/XM Application
The PiXM Sirius/XM app works only with the hard-to-find XMPCR. This device was sold in the early 2000's by XM Radio for using XM Radio on a desktop computer. Plug the XMPCR into a USB port to allow it to be managed by PiXM. As with any satellite radio receiver, it takes some time for all stations and categories to be downloaded. Also, the XMPCR only provides audio output through its own RCA jack so an external speaker must be attached to the XMPCR to hear audio playback. PiXM is in proof of concept stage and its stability is not guaranteed.
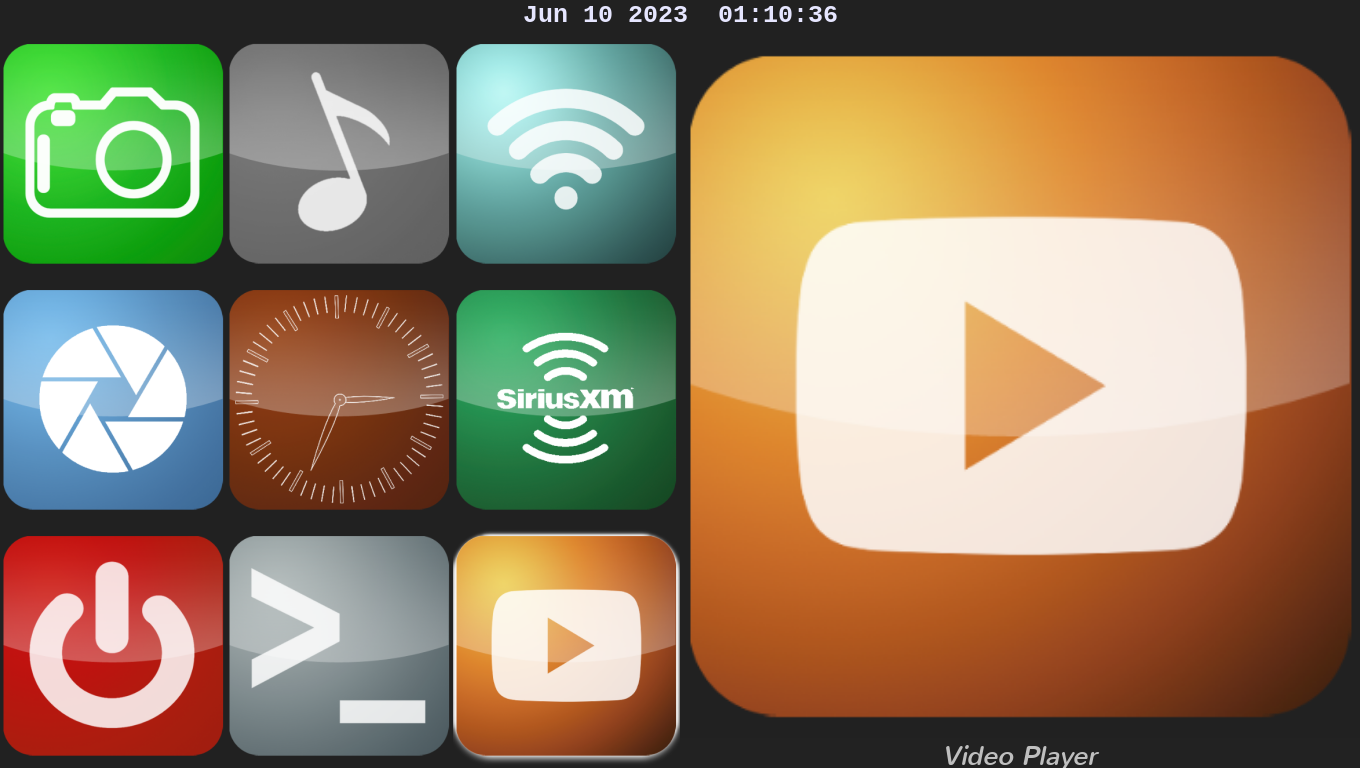
VideoFE Video File Browser and Player
VideoFE allows selection and playback of videos. It reads databases generated by the VideoLib desktop application from directories under /media/usb, which is where any USB stick will show up in the file system. Additionally, if other Media Systems are found on the network they will export their video file directories. These files will also show up under the /media directory tree where the local Media System will find them. The VideoFE video file browser and player is a front end to the Raspberry Pi omxplayer utility. This means VideoFE can play any video format supported by omxplayer, which in turn uses ffmpeg and supports a wide variety of video file formats. Omxplayer is fed the filename of the selected video and starts playing. If the user chooses to exit the video then omxplayer is notified to stop the video and the user is returned to the video selection screen. If no videos are listed in any tab of VideoFE then the app could not find any video libraries on the inserted media sticks or on exported media sticks from other PiBox devices. If this happens, make sure the media stick has the database file from the VideoLib application in the top level directory of that stick, reinsert the stick and restart the app.
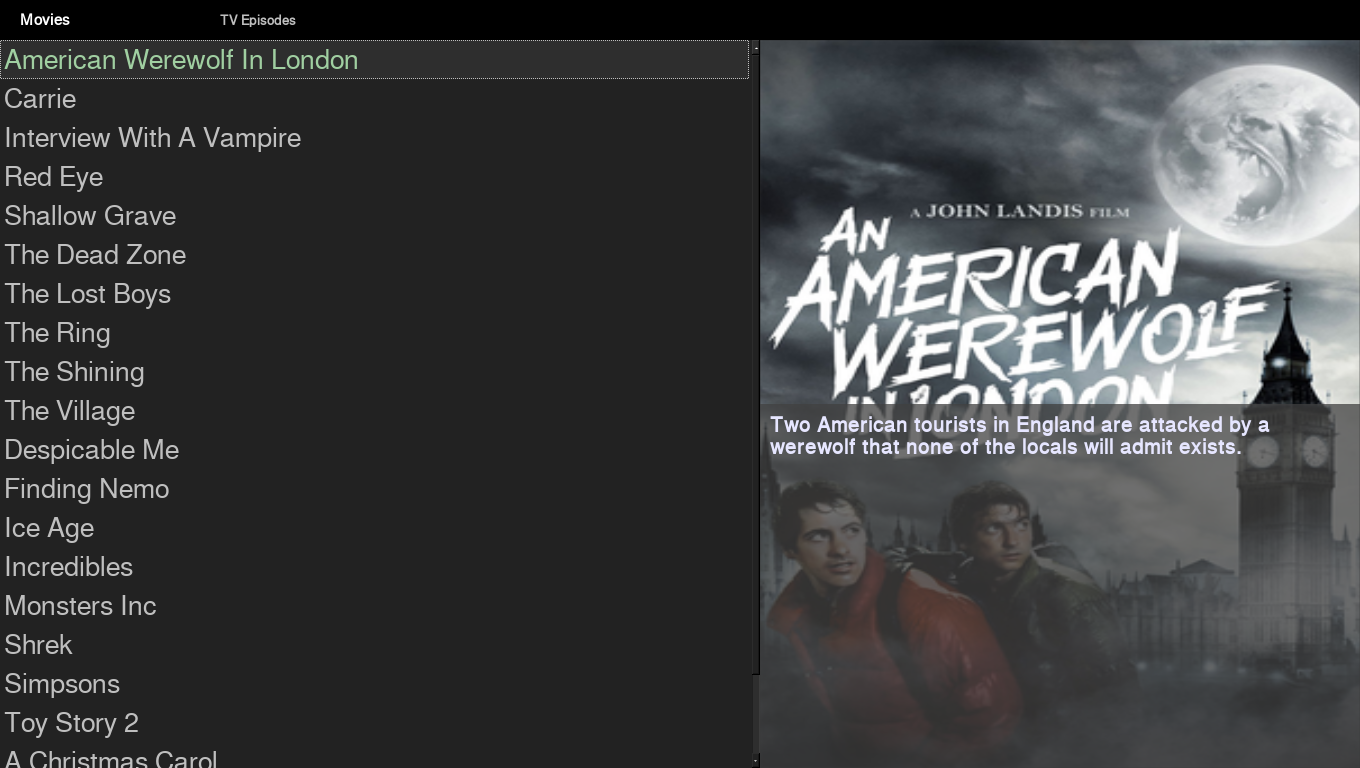
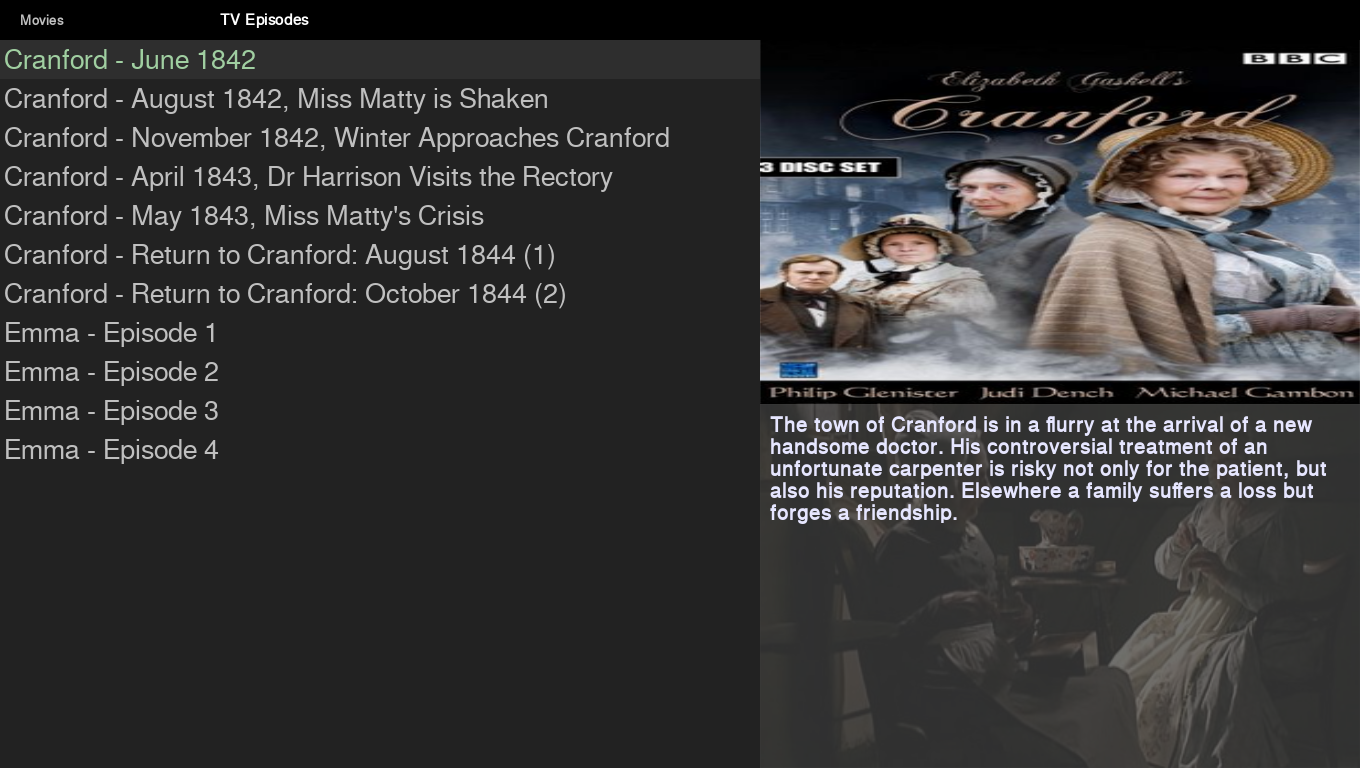
There are two tabs in the video selection screen. The first is for movies, the second is for TV Episodes. Use the TAB key to move from Movies to TV Episodes and back. In either mode a list of available videos is displayed. Use the up and down arrow keys on the keyboard to move through the list. Alternatively, type of few characters of a video title and hit the ENTER key. The first matching video will be highlighted. If there is no match then the first video title is highlighted. Using the ENTER key will play the highlighted video as long as you are searching for video titles. Each movie title has a banner image associated with it. The banner is displayed on the right with a descriptive text overlayed on the bottom half of the image.
Each TV title has a series image and an episode image associated with it. The banner is displayed on the top right while the episode image is displayed on the bottom left with a descriptive text overlayed on it. Once a video starts to play they keyboard forward and back keys can be used to skip forward and back. To exit a video use the ESC key.
The Web UI
The PiBox Media System provides a web UI along with the console UI. The web UI can be accessed at port 2001 for the configured IP address of the device. For example, if the device has an IP address of 192.168.20.10 then the web UI can be accessed at the following URL. http://192.168.20.10:2001 The Web UI provides three features, which listed in order of the icons displayed.
Network configuration
Network configuration provides a mostly identical interface to the console UI's network configuration app. This feature allows resetting the network remotely. Note that making changes to the network configuration may cause you to lose connection to the web UI so use this feature with caution. Managing users
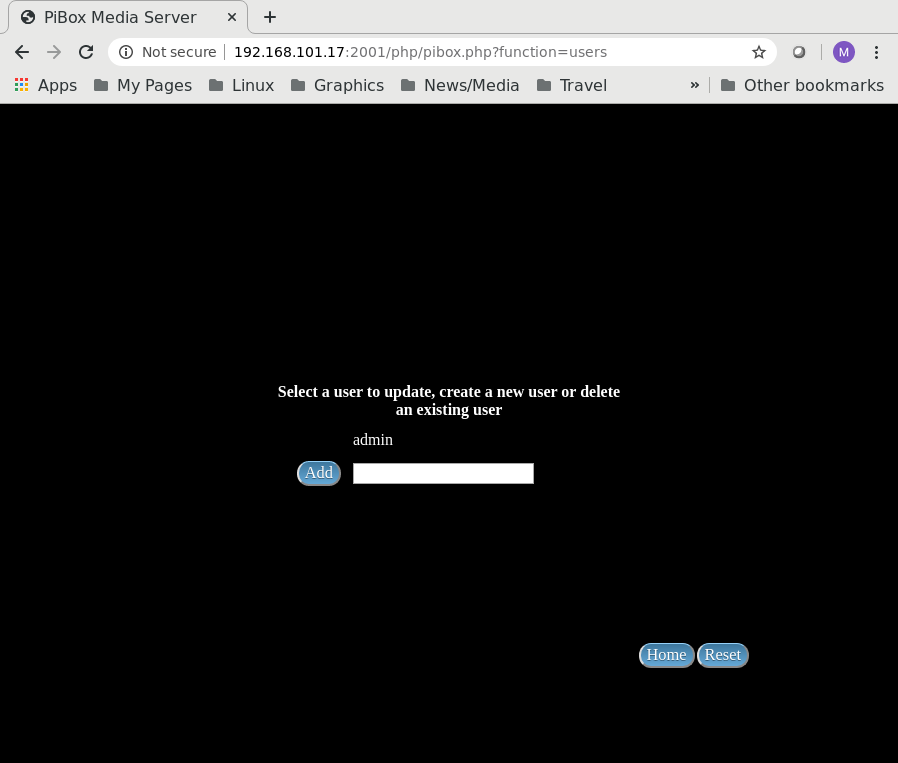
Access to the web UI is based on user authentication. Multiple users can be configured to use the web UI. Each user can be assigned their own password. This allows each user to have their own connection to the device using the Android app.
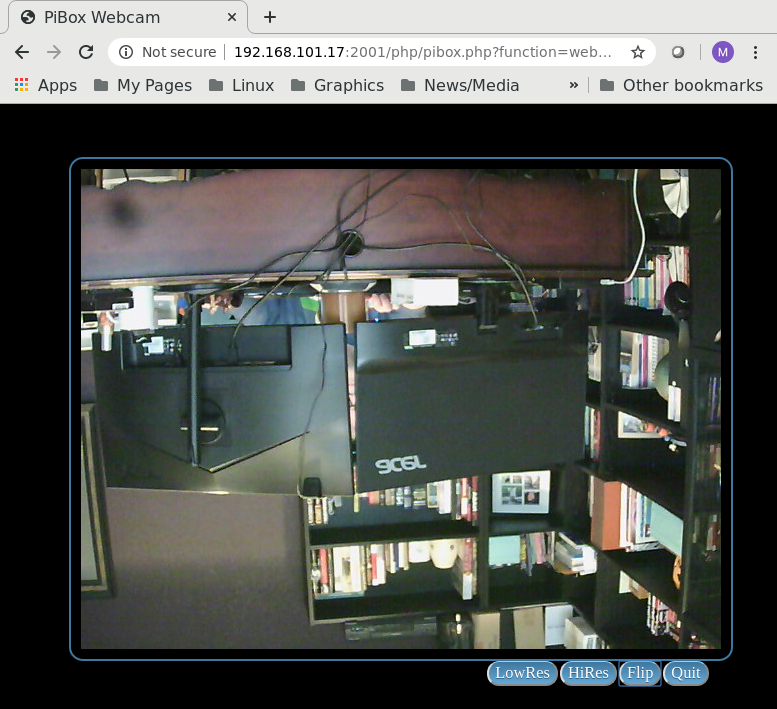
The default user is called admin and the default password is admin. The first time the admin user logs in they will be required to change this password. Webcam
A reload button is provided that will restart the webcam should it stop streaming video for any reason. There are two resolutions supported by the Web UI webcam: low and high. The default is low resolution and should be used if the frame rate causes excessive jitter (re: pauses in the playback). Low resolution can be uesd across the internet, but note that the stream is not encrypted. High resolution offers a clearer picture and works well on the local hetwork. Preparing Videos
Please see the VideoLib User Guide for details on preparing videos for use with the PiBox Media System. Audio and Video devices
PiBox Media Systems will work with any HDMI display device. We recommend the use of a hand held LED projector for the mobile playback but that isn't required. PiBox is designed to use the analog audio line out of the Raspberry Pi. It can also use HDMI audio but only if the HDMI display has support for audio. |